Creating a Voice-Over-PowerPoint Presentation
- Open your single-slide PowerPoint presentation. Please make sure to proofread your slide and preview as a slideshow before continuing.
- Click the “Slide Show” tab, then click the down arrow on the “Record Slide Show” button and select “Start Recording from Beginning…”.

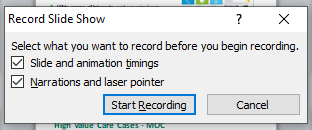
- Make sure both checkmarks are checked in the “Record Slide Show” pop-up, then click “Start Recording”.
- Your PowerPoint will open in presentation mode and will begin recording your audio narration. When you are finished narrating, click the “X” in the “Recording” pop-up.

- Go to “File” > “Save & Send” > “Create a Video”, then click the “Create Video” button.
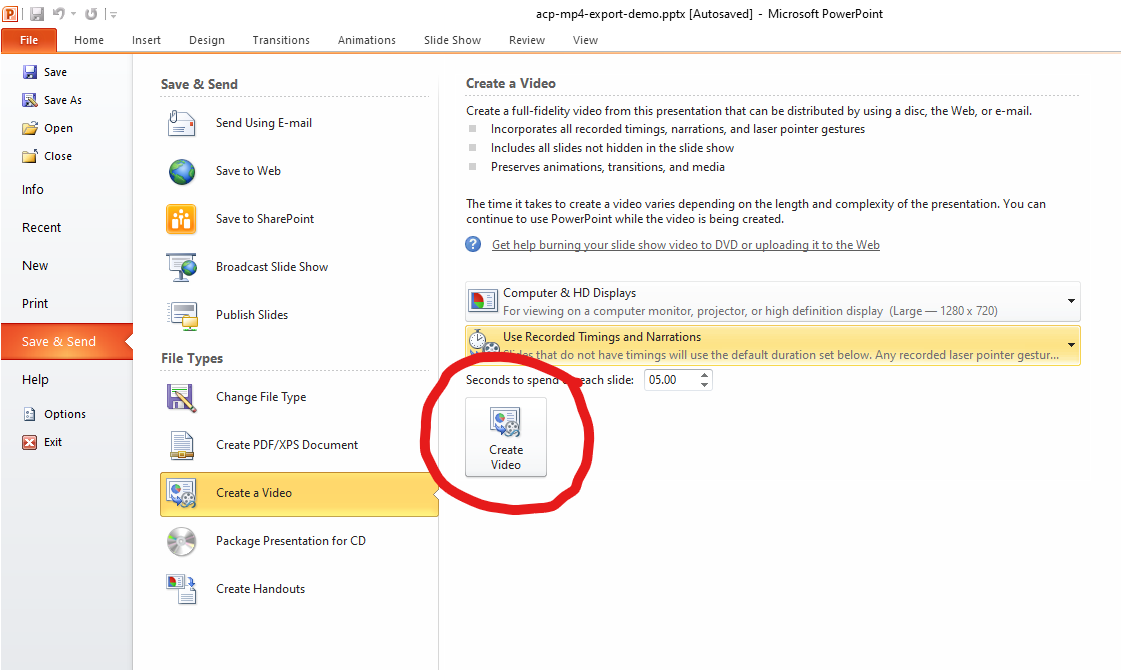
- In the “Save as type:” drop-down, if you have the option to select “MPEG-4 Video (*.mp4)”, do so and click Save. If you were able to generate and save the .mp4 file in this step, you are now done. This file can now be uploaded to ACP.
- If you do NOT have the option to select “MPEG-4 Video (*.mp4) for the “Save as type:”, you’re probably on an older version of PowerPoint. Instead, select “Windows Media Video (*.wmv)”.
Using HandBrake to Convert a .wmv File to .mp4
- Download the free, open-source video converter, HandBrake, https://handbrake.fr/.
- Install HandBrake as you would other software on your computer and launch it.
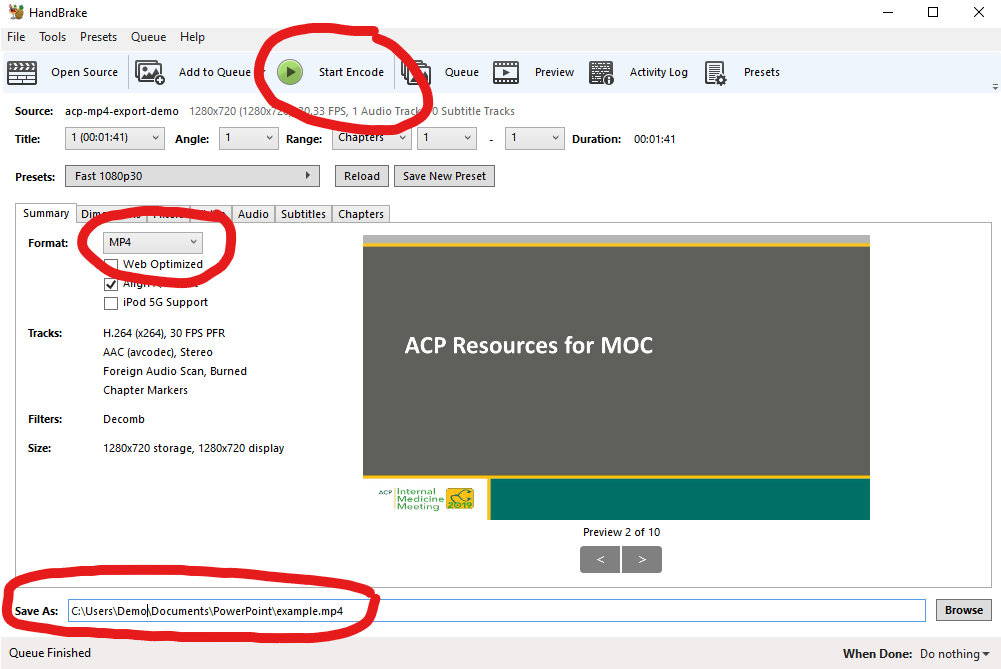
- Go to “File” > ”Open Source” and select your .wmv file.
- On the “Summary” tab, make sure the “Format” shows “MP4”. You should not need to adjust any other defaults.
- Enter a file name for the converted file in the “Save As” box.
- Click “Start Encode”.